
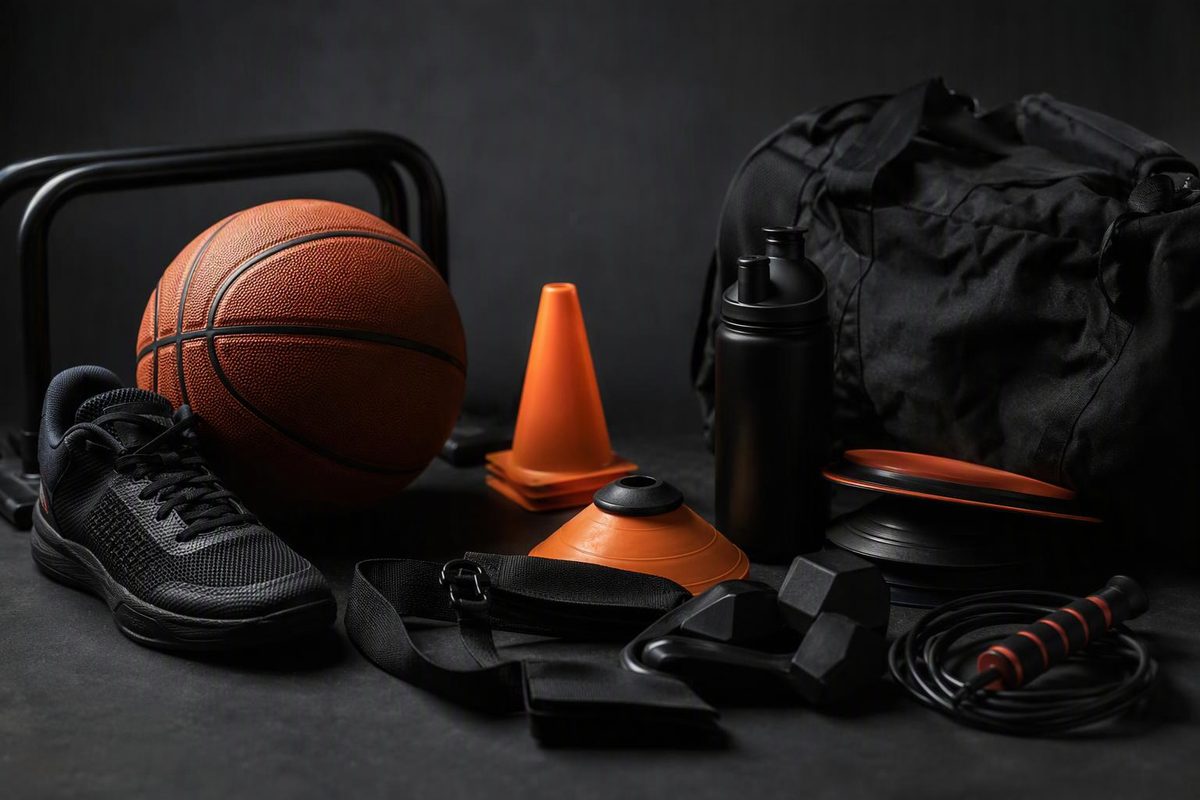
Basketball drills for 6-year-olds should teach one simple action at a time and give the child plenty of turns. Skip long lines, conditioning laps and shots that require a heave. A useful beginner session can fit into about 30–40 minutes.
Choose the problem you see; the tool matches it to a drill and a checkpoint.
Match a Problem to a Drill
What is the child struggling with most?
Loose Dribble: Red Light, Green Light
Pass when: The ball stays within one step on most bounces and the player stops without chasing it.
Eyes Down: Dribble Through the Gates
Pass when: The player clears three gates without losing the ball outside the area.
Passing: Partner or Wall Targets
Pass when: Five passes in a row return between waist and chest height.
Stopping: Jump-Stop Statues
Pass when: The player holds the landing for three seconds without an extra step or falling forward.
Turning: Cone-to-Cone Dribble
Pass when: The player makes two round trips without picking up the ball or taking more than one recovery step.
Layup Feet: Step-Jump Footwork
Pass when: The correct two-step rhythm is completed three times in a row without a ball.
Shooting: Close-Range Ladder
Pass when: The player makes 3 of 5 close shots with balance and an extended shooting arm.
Source: Drill setups and checkpoints are taken from the practice plan on this page.
Use a flat, clear playing area, markers and one ball for each child when possible. An adjustable hoop helps: set it low enough that the child can shoot with a balanced motion.
USA Basketball’s closest published equipment benchmark starts at ages 7–8 and specifies a size 5 ball measuring 27.5 inches and an 8-foot basket. It says a smaller ball improves control and a lower hoop supports shooting form and success. Use that only as a starting point for a 6-year-old; choose an even smaller ball or lower hoop when needed (USA Basketball).
1. Red Light, Green Light Dribbling
Setup: Give each player a ball. Mark a finish line 20–30 feet away.
Action: “Green light” means dribble forward, “yellow light” means slow down, and “red light” means stop, hold the ball and freeze in a balanced stance. Begin with the child’s more comfortable hand. Add the other hand after they can move and stop under control.
Checkpoint: The player reaches the line while keeping the ball within one step on most bounces and stops without chasing it.
Common correction: If the ball rises above the waist or escapes, say, “Push it softly toward the floor.” Do not add speed yet.
2. Dribble Through the Gates
Setup: Make four to six gates with pairs of cones about three feet apart. Scatter them over a small area.
Action: The player earns one point by dribbling through a gate, then looks for a different one. Play for 30 seconds, rest and repeat. In later rounds, call the color or number of the next gate.
Checkpoint: The player passes through three gates without losing the ball outside the area.
Common correction: If the child watches the ball continuously, stand beyond the next gate and hold up fingers for them to call out. Hand and number signals are also used in a beginner dribbling drill to encourage players to look forward (Breakthrough Basketball).
3. Partner or Wall Target Passing
Setup: Partners stand about five feet apart with one ball. The receiver presents both hands as a chest-high target. For solo practice, place a tape target on a solid wall and keep the rebound area clear.
Action: Make five chest passes, then five bounce passes. For a chest pass, step toward the target and push the ball forward. For a bounce pass, aim at the floor so the ball rises toward the receiver’s waist. Count consecutive accurate passes or clean wall rebounds.
Checkpoint: Complete five passes in a row that return between waist and chest height.
Common correction: If passes float or fall short, cue, “Step and push.” Move closer before adding force.
4. Jump-Stop Statues
Setup: Spread players along one end of the court, initially without balls.
Action: On “go,” players run or skip forward. On “stop,” they land on both feet at nearly the same time, bend their knees and freeze for three seconds. Once they can balance, repeat while dribbling: gather the ball and jump-stop on the signal.
Checkpoint: The child holds the landing for three seconds without taking another step, crossing the feet or falling forward.
Common correction: If the player lands stiff and tips forward, shorten the approach and say, “Land soft with bent knees.” Jr. NBA’s jump-stop game likewise asks players to pause in a balanced position before moving again (Jr. NBA).
5. Cone-to-Cone Control Dribble
Setup: Place two cones 10 feet apart. The player starts beside one cone with a ball.
Action: Walk and dribble to the far cone, follow a wide path around it and return. As control improves, make the turn smaller and use the hand farther from the cone.
Count controlled trips rather than racing against a clock.
Checkpoint: The player completes two round trips without picking up the ball or needing more than one step to recover a loose bounce.
Common correction: If the ball strikes the cone, widen the turn. Tighten the path only after the larger turn is repeatable.
6. Step-Jump Layup Footwork
Setup: Start without a ball, two or three steps from a lowered hoop. Put a floor marker where the takeoff foot should land.
Action: On the right side, step right, step and jump from the left foot, then lift the right knee and reach with the right hand. On the left side, reverse the pattern: left step, right-foot jump, left knee and left hand.
Progress in this order: no ball, holding a ball, then one dribble into the move. Starting without a ball lets a beginner concentrate on the footwork, an approach also used in a beginner circle-layup progression (Breakthrough Basketball).
Checkpoint: Complete the correct two-step rhythm three times in a row without the ball before adding it.
Common correction: If the feet get mixed up, remove the ball and say the rhythm aloud: “Right, left, up” or “Left, right, up.”
7. Close-Range Shooting Ladder
Setup: Put a marker two or three feet from the front or side of a lowered hoop.
Action: Point the feet toward the basket, bend slightly, lift the ball and finish with the shooting arm extended and wrist relaxed. Hold the follow-through until the ball lands. After two makes, take one small step back. After two misses, step closer.
Checkpoint: Make 3 of 5 close shots while staying balanced and extending the shooting arm. Only then add a little distance. For the mechanics in order, use this step-by-step shooting progression.
Common correction: If the child starts throwing from the chest or shoulder, move closer. Do not trade balance for distance.
A 35-Minute Beginner Practice
- Movement warm-up — 3 minutes: Run, skip and slide to called lines.
- Red Light, Green Light — 4 minutes
- Dribble Through the Gates — 4 minutes
- Partner or Wall Passing — 4 minutes
- Jump-Stop Statues — 4 minutes
- Cone-to-Cone Dribbling — 4 minutes
- Step-Jump Layups — 5 minutes
- Close-Range Shooting — 5 minutes
- Choice round — 2 minutes: Repeat a favorite drill.
Demonstrate briefly, then let the child move. The NBA and USA Basketball recommend one 30–60-minute practice per week for ages 7–8. Because their table does not cover age 6, use it only as support for keeping this nearby age group’s organized sessions modest rather than copying an older team’s workload (NBA and USA Basketball).
Advance only when the checkpoint is repeatable. If control disappears, reduce the speed, distance or number of decisions until the child succeeds again.