
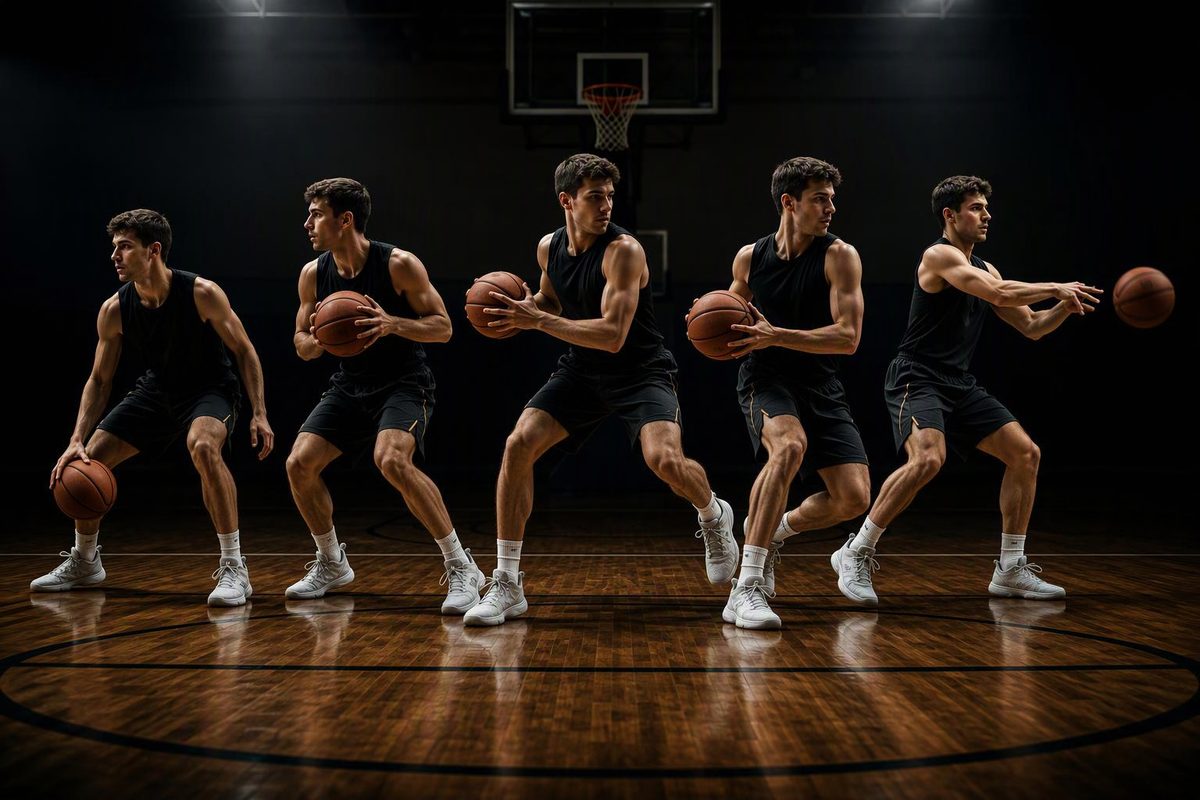
Good basketball footwork follows a repeatable sequence: move, stop under control, establish balance and make the next play without shifting the pivot foot.
This five-stage progression teaches that sequence. You need a basketball, about 15 feet of clear floor and either two intersecting court lines or a tape plus sign. A wall is useful for passing but not required.
1. Build the ready stance
Start without the ball.
- Place your feet about shoulder-width apart.
- Bend at the ankles, knees and hips.
- Keep your chest up and your weight on the front half of each foot, with your heels light rather than forced high.
- Hold your hands where you can receive a pass.
- Stay still for 10 seconds, then relax.
Complete three holds. During each one, shift your weight slightly left, right, forward and backward. You should stay balanced without crossing your feet or standing up.
USA Basketball describes a ready position with a low stance, light heels and a shoulder-width base. Its jump-stop instruction finishes in the same stance, so the stop and ready position should connect (USA Basketball).
Checkpoint: Hold the position for 10 seconds without your knees collapsing inward, your weight rocking onto your heels or your torso folding toward the floor.
2. Learn a low two-foot jump stop
Stand three walking steps from a line.
- Walk toward the line.
- On the third step, make a small forward hop.
- Land on both feet at nearly the same time.
- Absorb the landing by bending your ankles, knees and hips.
- Freeze in the ready stance for two seconds.
Do five stops at walking speed, then five from a jog. Travel forward rather than jumping high. USA Basketball describes the two-foot jump stop as a transition from movement into a balanced ready position and notes that it does not require a high jump (USA Basketball).
Checkpoint: Complete 8 of 10 landings with your chest up, hips over your base and both feet planted—no extra step or backward stumble.
Common miss — landing tall: If your feet slap down and momentum carries you forward, shorten the final approach step and imagine landing under a low ceiling. Reduce your speed until you can freeze, then rebuild it.
3. Learn both pivots on each foot
Place the ball of one foot over the center of your tape plus sign. That is the pivot foot; the other is the free foot.
Front pivot
Stay low and step the free foot forward around the pivot foot. Turn your hips and shoulders with the step. Stop after a quarter-turn, then return to the starting position.
Reverse pivot
Step the free foot backward around the pivot foot. Again, turn your hips and shoulders together rather than twisting only your upper body.
Complete:
- Five front pivots on the left foot
- Five reverse pivots on the left foot
- Five front pivots on the right foot
- Five reverse pivots on the right foot
Hold the ball at your chest once the movement is clean. Keep it close instead of letting it pull you upright.
USA Basketball’s plus-sign drill places the pivot foot at the intersection and has the player turn the free foot and shoulder together while keeping the pivot point in place (USA Basketball).
Checkpoint: Finish 4 of 5 repetitions in each direction with the ball of your pivot foot still centered on the intersection and enough balance to pass immediately.
Common miss — the pivot foot slides: Slow down and turn on the ball of that foot. Put a small tape X beneath it; if that part of the foot leaves the X, reset rather than finishing a faulty repetition.
4. Add the catch before the pivot
Do not add a dribble yet. Toss the ball slightly forward and upward, or pass it against a wall.
- Move toward the ball.
- Catch it while both feet are off the floor.
- Land on both feet together in a low stance.
- Call “left” or “right”; keep that foot planted.
- Make a front or reverse pivot.
- Pass to a wall target, or make a firm pass fake if no wall is available.
Perform five front pivots and five reverse pivots, alternating the planted foot.
Gather and landing order determine whether a player may pivot. For example, the NBA permits either foot to become the pivot after one simultaneous-foot stopping pattern, but permits no pivot when a progressing player jumps from one foot on the first step and lands on both feet for the second (NBA Official). Do not assume every two-foot stop creates the same pivot rights. High-school players can apply the control, landing and pivot tests in the 2026–27 traveling guide.
Checkpoint: Make 8 of 10 catches without bobbling the ball, shifting the called pivot foot or standing up before the pass.
5. Add the dribble without adding a pivot
Set a floor marker 10 to 15 feet from a wall or basket.
- Attack it with three controlled dribbles.
- Gather the ball and make a low two-foot stop.
- Freeze for one second.
- Pass to the wall or shoot without pivoting.
- Repeat with the other hand.
Keeping the dribble-stop repetition separate from the catch-pivot repetition lets you train the stop without guessing about pivot rights. Once a coach has checked your gather and landing under the rules you play, combine the skills. Jr. NBA also uses drills that connect dribbling, jump stops and passing (Jr. NBA).
Checkpoint: Complete 8 of 10 approaches with each hand with no extra step, loss of balance or off-target pass. For a shot, count the footwork as successful when you stop under control and release without another step; record makes separately.
A 10-minute footwork routine
Use this order two or three times per week:
- 1 minute: Ready-stance holds
- 2 minutes: Walking and jogging jump stops
- 3 minutes: Front and reverse pivots on both feet
- 2 minutes: Catch, stop, pivot and pass
- 2 minutes: Dribble, stop and pass or shoot
Speed comes last. Advance when the checkpoint stays clean for two sessions in a row. If your feet become noisy, your torso rises or the pivot point moves, return to the previous speed. When the stop is stable enough to lead into a shot, connect it to the step-by-step shooting progression.