
How to Choose the Right 20-Inch Wheel Without Guessing at Fit
Cars need wheels, tires, hardware, clearances and vehicle configuration matched; bikes require ETRTO size, width, drilling, hub and valve checks.
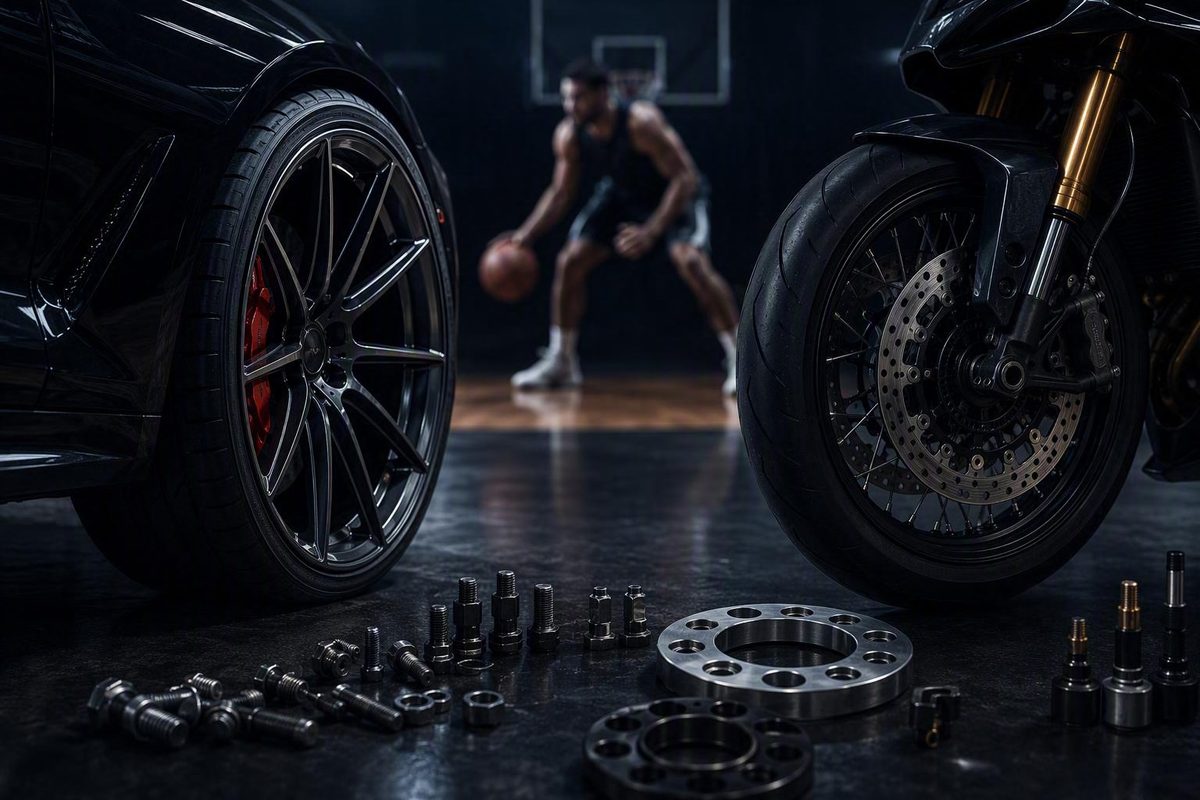
A “rim 20” may mean a 20-inch automotive wheel or a nominal 20-inch bicycle rim. They are entirely different products. For a car, match the wheel, tire, hardware, clearances, and exact vehicle configuration. For a bicycle, confirm the ETRTO bead-seat diameter, width, drilling, hub, valve, brake interface, and build requirements.
First, identify which kind of 20-inch rim you need
| If you need an… | Confirm this before shopping |
|---|---|
| Automotive wheel | Exact vehicle year, make, model, trim, drivetrain, axle, brake package, and factory options |
| Bicycle or BMX rim | Required ETRTO bead-seat diameter, bicycle model, wheel position, hub, tire, and brake specifications |
For an automotive wheel, 20 inches describes the bead-seat diameter—where the tire bead sits—not the total height of the mounted wheel-and-tire package. The tire sidewalls make the complete assembly taller. Wheel width is likewise measured between the bead seats, not across the outer edges (OEM wheel-specification guide).
For bicycles, a nominal “20-inch” label is ambiguous. Check the ETRTO number on the existing tire or rim, or consult the bicycle manufacturer’s replacement-parts documentation.
Automotive checkpoint: Continue only when you know the complete vehicle configuration, including its trim, drivetrain, axle, suspension options, and brake package. Different versions of the same model year can require different wheels.
Bicycle checkpoint: Continue only after confirming the required ETRTO size and the bicycle or wheel-build specification. A generic 20-inch label is not enough.
Automotive fitment: check more than diameter and bolt pattern
A wheel can have the expected diameter and bolt pattern yet contact a brake caliper, suspension component, tire liner, or fender. Check the specifications in sequence:
- Diameter: Confirm the required bead-seat diameter. The wheel’s outer lip is not part of this measurement.
- Width: Use a width approved for the vehicle and tire, measured between the bead seats.
- Bolt pattern: Match both the fastener count and pitch-circle diameter exactly. For example, 5x114.3 means five lugs positioned on a 114.3 mm circle.
- Offset: Confirm the mounting surface’s position relative to the wheel centerline. Width and offset together determine the wheel’s inward and outward position.
- Center bore: Verify that the center opening fits over the vehicle hub. An appropriately specified hub-centric ring may adapt some larger bores, but it cannot correct the wrong bolt pattern, offset, or wheel design.
- Load rating: Use a wheel with the load rating required by the vehicle manufacturer for that wheel position.
- Lug-seat type: Match the wheel’s conical, ball, flat, or other specified seat and use the required fasteners.
- Brake clearance: Confirm that the barrel and spokes clear the brake caliper. Nominal diameter does not describe every internal contour.
- Suspension and body clearance: Check the wheel and tire’s inward clearance near suspension parts and outward clearance near the fender and liner.
- TPMS compatibility: Confirm the required sensor and whether the wheel supports the corresponding valve and installation.
- Tire size: Use a vehicle-approved tire size that is permitted for the selected wheel width.
Matching diameter and bolt pattern is necessary but insufficient. Width and offset control wheel position, while spoke shape and barrel depth can change brake clearance. Two wheels labeled 20x9 with the same bolt pattern may therefore fit differently.
Do not rely on a universal acceptable offset deviation. General recommendations differ, and a small change may matter when the original fitment has limited clearance. Compare the proposed wheel’s complete geometry with the approved factory specification.
A preliminary specification match also does not replace physical clearance verification. Fitment must account for steering travel, suspension movement, vehicle loading, brake components, liners, and fender edges. Do not crawl under an unsupported vehicle or improvise a suspension-compression test. Have a qualified installer perform loaded or dynamic checks using suitable equipment and the wheel or vehicle manufacturer’s procedure.
Start with the owner’s manual, door-jamb placard, factory parts information, current-wheel markings, and the OEM part number often found on the wheel’s reverse side. A vehicle-specific wheel database can provide another comparison point using the make, year, model, width, offset, center bore, and bolt pattern. If reliable records disagree, stop and ask the vehicle manufacturer, wheel manufacturer, or a qualified fitment specialist to reconcile them.
Match the tire and preserve the approved overall diameter
A 20-inch automotive wheel requires a tire with a matching 20-inch bead diameter. An 18-inch tire cannot be mounted correctly on a 20-inch wheel, regardless of its tread width or sidewall profile (20-inch wheel and tire guidance).
Moving from a smaller wheel to a 20-inch wheel normally requires different tires. The usual process is plus-sizing: increasing the wheel diameter while reducing tire sidewall height so the complete tire’s overall diameter remains close to a manufacturer-approved specification.
Keeping the overall diameter near the approved size helps limit speedometer error and avoid creating additional clearance problems. It does not establish that the wheel clears the brakes, steering, suspension, or bodywork.
Use this sequence:
- Record the approved factory wheel and tire size for the exact vehicle configuration.
- Identify a manufacturer-approved 20-inch alternative.
- Confirm that the tire is approved for the proposed wheel width.
- Compare the complete tire diameters rather than the wheel diameters alone.
- Use the load index and speed rating specified or approved for that vehicle configuration.
- Have the complete package checked for brake, suspension, steering, tire, and fender clearance.
A lower-profile tire commonly provides less sidewall cushioning, although the result also depends on tire construction, inflation pressure, wheel mass, suspension tuning, and road conditions. These relationships among plus-sizing, sidewall height, overall diameter, and speedometer accuracy are summarized in this wheel-size and ride guide.
There is no universal tire profile for a 20-inch wheel. The correct size depends on the vehicle, wheel width, axle position, load requirements, and approved fitment. Do not transfer a tire size from another model or trim merely because both vehicles use 20-inch wheels.
Decide whether 20-inch wheels suit your priorities
Begin with the sizes approved for the vehicle. Then compare the complete packages rather than choosing by appearance alone.
| Priority | Possible advantage | Possible drawback or condition |
|---|---|---|
| Appearance | Can change how the wheel opening and vehicle stance look | Styling does not establish compatibility |
| Steering response | A shorter sidewall may feel more immediate | Tire construction, pressure, mass, suspension, and alignment also matter |
| Brake space | A larger wheel may provide room for larger brakes | Spoke and barrel shapes must still clear the caliper |
| Ride comfort | — | A shorter sidewall generally supplies less cushioning |
| Pothole exposure | — | Less sidewall can leave less impact-absorbing margin |
| Tire cost | — | Less-common or performance-oriented sizes may cost more |
| Acceleration | A light package may avoid a substantial penalty | A heavier assembly requires more energy to accelerate |
| Efficiency | — | Mass, tire width, construction, pressure, and rolling resistance may affect consumption |
When overall tire diameter stays similar as wheel diameter increases, the tire sidewall becomes shorter. That can produce a firmer ride and leave the tire and wheel more vulnerable to pothole damage. The degree of change depends on the complete package and the vehicle’s suspension.
Larger wheels may provide space for larger brakes or contribute to sharper steering response, but neither result is automatic. A larger wheel may also be heavier, unsuitable for the intended tire, or incompatible with the caliper’s shape.
Grip cannot be predicted from rim diameter alone. Tire width, compound, construction, pressure, temperature, wheel mass, suspension, alignment, and the vehicle’s overall setup can matter as much as—or more than—the nominal wheel diameter.
Acceleration and efficiency are similarly sensitive to the mass and construction of the entire wheel-and-tire assembly. Comparing diameter alone ignores tire weight, wheel design, width, and rolling resistance.
One automotive editorial estimates that comparable 20-inch tires may cost 20% to 60% more than 18-inch tires, but it provides no model-by-model comparison. Treat that range as a broad budgeting prompt, not a purchasing rule (Road Ethos cost estimate).
Choose among manufacturer-approved sizes based on comfort, road conditions, replacement cost, brake requirements, and complete package weight—not styling alone.
Bicycle fitment: use ETRTO 406, then check the build details
The nominal 20-inch bicycle rims compared here use a 406 mm bead-seat diameter. That is the starting point, not a complete compatibility specification.
Check the following:
- ETRTO diameter: Confirm 406 mm on the rim, tire, or bicycle documentation.
- Internal rim width: Match it to a tire width approved by the rim and tire manufacturers.
- Spoke-hole count: Match the rim drilling to the intended hub.
- Wheel position: Determine whether the component is intended for the front or rear.
- Hub compatibility: Check drilling, spoke geometry, axle application, and build requirements.
- ERD: Use the effective rim diameter specified for the rim to calculate spoke length.
- Valve type: Confirm Presta or Schrader compatibility and the required valve dimensions.
- Brake interface: Determine whether the rim is designed for rim brakes, disc-brake use, or a model-specific system.
- Bicycle restrictions: Check BMX, folding-bike, touring, cargo-bike, and electric-bike requirements separately.
- Tubeless approval: Verify the rim, tape, valve, tire, and permitted pressure as one supported system.
A shared 406 mm diameter does not make BMX, touring, folding-bike, cargo-bike, and electric-bike rims interchangeable. They may differ in width, drilling, spoke angle, valve opening, brake surface, load requirements, and model restrictions.
Do not infer tubeless compatibility from dimensions or appearance.
Example comparison: two 406 mm rims with different purposes
The following rims share the same bead-seat designation but have different specifications and intended applications.
| Specification | Velocity Cliffhanger | Brompton G Line rear rim |
|---|---|---|
| Diameter | 406 mm bead-seat diameter | ETRTO 406 |
| Width | 25 mm internal; 30 mm external | Not stated |
| Drilling | 24, 28, 32, 36, 40, or 48 holes | 32 angle-drilled holes |
| Build data | 381 mm ERD; 430 g listed weight | ERD not stated |
| Tire guidance | Recommended 45–65 mm | Not stated |
| Valve | Presta, 32–40 mm | Schrader |
| Brake information | Rim-brake specification | Not stated |
| Intended use | Touring; clincher or optional tubeless setup | Rear rim for specified Brompton models |
| Restrictions | Select drilling and configuration for the build | G Line and Electric G Line e-Motiq |
Velocity specifies the Cliffhanger’s dimensions, tire range, ERD, drilling options, valve, rim-brake configuration, and listed weight. Its optional tubeless setup requires thin rim tape for what the manufacturer describes as the best tire fit. The listing showed variants from $125 to $235 at the time of review.
Brompton describes its product as a double-walled rear rim with 32 angle-drilled holes, a Schrader valve, and compatibility with G Line and Electric G Line e-Motiq bicycles. Its listing showed a price of $40 at the time of review. Rim width, material, load limit, brake compatibility, and ERD are not stated and should not be inferred.
Neither rim is inherently the better choice. Drilling, valve type, tire range, brake interface, ERD, hub requirements, and bicycle restrictions determine which one—if either—belongs in a particular build.
Run this final check before ordering
Record each required specification in writing. Do not treat a search filter or “fits your vehicle” label as final confirmation.
For an automotive order, confirm:
- Exact year, make, model, trim, drivetrain, axle, brake package, and factory options
- Approved 20-inch diameter and wheel width
- Exact bolt pattern and offset
- Center-bore fit or an approved hub-centric solution
- Required wheel load rating
- Lug-seat type, fastener dimensions, and installation hardware
- Brake-caliper, spoke, and inner-barrel clearance
- Suspension, steering, tire, liner, and fender clearance
- Approved tire size and permitted wheel-width range
- Vehicle-approved tire load index and speed rating
- TPMS sensor and valve requirements
- Any different front and rear specifications
Calculate the complete purchase cost, not merely the advertised starting price. Include the required number of wheels, tires, TPMS sensors or service kits, mounting, balancing, lug hardware, possible hub rings, shipping, and taxes. A price marked “each” is not the cost of a complete installed set.
For a bicycle order, confirm:
- ETRTO 406 bead-seat diameter
- Internal width and approved tire-width range
- Spoke-hole count
- Front or rear designation
- Hub drilling and compatibility
- ERD and calculated spoke requirements
- Presta or Schrader valve specification
- Rim-brake, disc-brake, or model-specific interface
- Complete tubeless-system approval, if required
- Bicycle-model and load restrictions
Separate stable specifications—dimensions, drilling, valve type, ERD, and model designation—from changeable commercial details such as price, inventory, delivery, financing, shipping, warranty coverage, and return conditions. Verify those terms immediately before paying.
Check the return policy before mounting a tire or building a bicycle wheel. Velocity states that mounted, built, or installed rims are non-returnable, which makes pre-build verification especially important.
If a required specification is missing or conflicts with another reliable source, do not order. Wait until the vehicle manufacturer, bicycle manufacturer, wheel maker, or a qualified specialist confirms the complete fitment.