
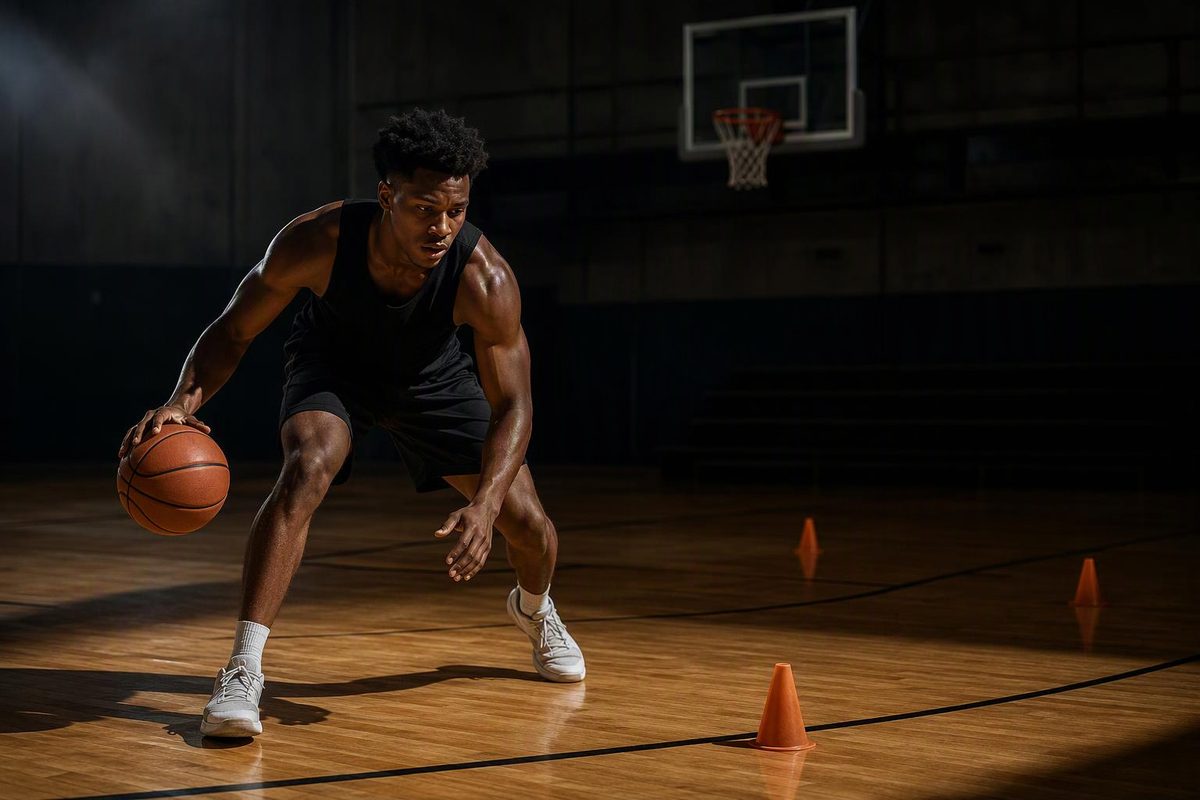
To become a better basketball player, identify one weakness, practice it at a speed you can control, and test it against a defender. Keep practicing the other fundamentals, but give your main weakness the largest share of your practice—not the move you already enjoy doing.
The 30-minute routine below needs one ball, a hoop, a clear, level playing area, and a notebook or phone for recording results. Without a hoop, you can still work on handling and footwork.
Choose your focus and checkpoint status to get your next practice task.
Your Next Practice Task
Checkpoints are practice targets, not official skill standards.
Check Your Ball Control
Dribble for 20 seconds with each hand while looking toward a point ahead. Count losses of control and looks down at the ball.
Progress target: two 20-second sets per hand without losing the ball or repeatedly looking down, then a controlled walking dribble.
If control breaks down, stay stationary and shorten the set before adding movement.
Source: the article’s practice routine, adapted from USA Basketball’s development curriculum and Jr. NBA drills. Numerical checkpoints are coaching targets for this routine.
Find the Skill That Breaks Down First
Before choosing drills, take a short baseline check:
- Ball control: Dribble for 20 seconds with each hand while looking toward a point ahead. Count losses of control and looks down at the ball.
- Balance: Toss the ball gently to yourself, catch it, and hold your stance for two seconds. Repeat five times. Note extra steps or stumbles.
- Shooting: Take 10 shots from the same comfortable close-range spot. Record makes and whether you finish balanced.
- Game decisions: After your next game, identify one recurring problem: picking up your dribble too early, missing an open teammate, forcing a shot, or losing your defensive assignment.
Choose one problem that repeatedly limits you. “Keep my eyes up while dribbling left-handed” gives you a specific task; “get better handles” does not.
This approach adapts the principles in USA Basketball’s player-development curriculum: establish a baseline, start with simple tasks, and progress by skill mastery. You can be advanced in one skill and a beginner in another.
Build Control Before Adding Speed or Distance
Use this sequence to connect ball control, balance, and shooting. The numerical checkpoints are practical targets for this routine, not official skill standards. If a stage is already comfortable, confirm that with its checkpoint before moving on.
Control the Dribble Before Moving Faster
Stand with your knees bent and your feet comfortably apart. Dribble with your right hand for 20 seconds, then your left. Keep your chest and eyes up.
Next, walk several steps forward and back with each hand. Add a crossover—a bounce from one hand to the other—only when the single-hand dribble stays controlled.
Checkpoint: Complete two 20-second sets per hand without losing the ball or repeatedly looking down. Then complete the walking version before increasing speed.
If the ball gets away when you look up, return to a stationary dribble and shorten the set until you can keep control.
These stance and eyes-up cues match the Jr. NBA’s starter ball-handling instruction. For more stages, use the solo dribbling progression.
Catch Balanced, Then Practice Pivots
Give yourself enough space for a short toss and catch. Toss the ball gently ahead, move to it, and catch with bent knees. Hold still for two seconds.
Practice pivots separately at first: stand with both feet on the ground and the ball in your hands, then keep one foot planted while stepping around it with the other. Switch the planted foot for the next repetition.
Checkpoint: Complete five catches without stumbling or needing a recovery step. During pivots, the planted foot should not slide.
If you fall forward on the catch, shorten the toss and approach more slowly rather than trying to rescue your balance afterward.
Use the jump-stop and pivot guide to connect catches, stops, and pivots as you develop the footwork further.
Shoot Close Before Adding Movement
Stand within a few feet of the basket, close enough to shoot without heaving the ball.
Begin with one-hand form shots. Place your shooting elbow beneath the ball, bend your knees, extend your legs and shooting arm together, and hold your follow-through. These cues come from the Jr. NBA’s form-shooting drill.
Then add your guide hand, lightly supporting the side of the ball rather than pushing it toward the basket, as described in the Jr. NBA’s shooting fundamentals.
Checkpoint: On at least eight of 10 attempts, finish balanced and hold your follow-through without heaving the ball. Record makes separately; a made shot with a stumble does not pass the balance check.
Once that is repeatable, add a gentle self-toss and catch before shooting. Increase distance only when the same motion remains comfortable.
If shots fall short and you start throwing harder with your arms, move closer and restore the coordinated leg-and-arm extension before trying that distance again.
For the full sequence, follow the proper shooting-form guide.
Give Your Main Weakness 10 Focused Minutes
| Time | Task |
|---|---|
| 5 minutes | Warm up with walking, easy jogging, lateral movement, and gentle dribbling. |
| 5 minutes | Practice ball control and balanced catches. |
| 10 minutes | Work on your chosen weakness at the stage you can control. |
| 5 minutes | Add movement, more speed, or greater distance—not all three. |
| 5 minutes | Repeat your baseline check and record the result. |
If technique breaks down, remove the newest challenge. Do not rush through a checkpoint just to finish the plan.
Keep a brief log: task, attempts, clean repetitions, makes where relevant, and next correction. Compare sessions using the same conditions. Ten close shots and 10 long shots are different tests. Repeat the routine across sessions rather than replacing your priority after every miss.
Test Your Progress Against a Defender
Solo drills cannot show whether you recognize an open driving lane or choose the right pass against a defender. The Jr. NBA starter plans include decision-based one-on-one work in which the attacker responds to a defender’s position.
When you have a partner, play short one-on-one games. With more players, use two-on-two or three-on-three so you also practice passing, spacing, and defensive communication. Alternate offense and defense.
Carry one specific check into the game: keeping your eyes up, stopping balanced, or taking an available shot rather than forcing one. Record whether that skill held up against pressure, and use the result to choose your next practice priority.
If the same mistake persists and you cannot identify its cause, ask a coach to watch a few repetitions.